Jump to: Before You Begin | Domain Verification | IdP Configuration | Troubleshooting
Already signing in with Microsoft? No immediate action is required. Continue signing in as usual. However, completing the SSO setup below provides stronger security and a more seamless login experience for your organization.
Before You Begin
- Super Admin access - Required in Blitzy to initiate the setup
- DNS Administrator - Needed for Step 1 to add a record to your domain’s DNS settings. This is a minor, non-disruptive change.
- Security or IT Administrator - Needed for Step 2 to configure your Identity Provider
Step 1: Domain Verification
Domain verification proves to Blitzy that your organization owns the domain used for employee email addresses (e.g.,yourcompany.com). This is a one-time step performed by your DNS Administrator.
1
Open Authentication Settings
Navigate to Settings by clicking the gear icon in the top-right corner of your workspace. Select the Authentication tab.
2
Start Domain Verification
In the Domain Verification section, click Verify.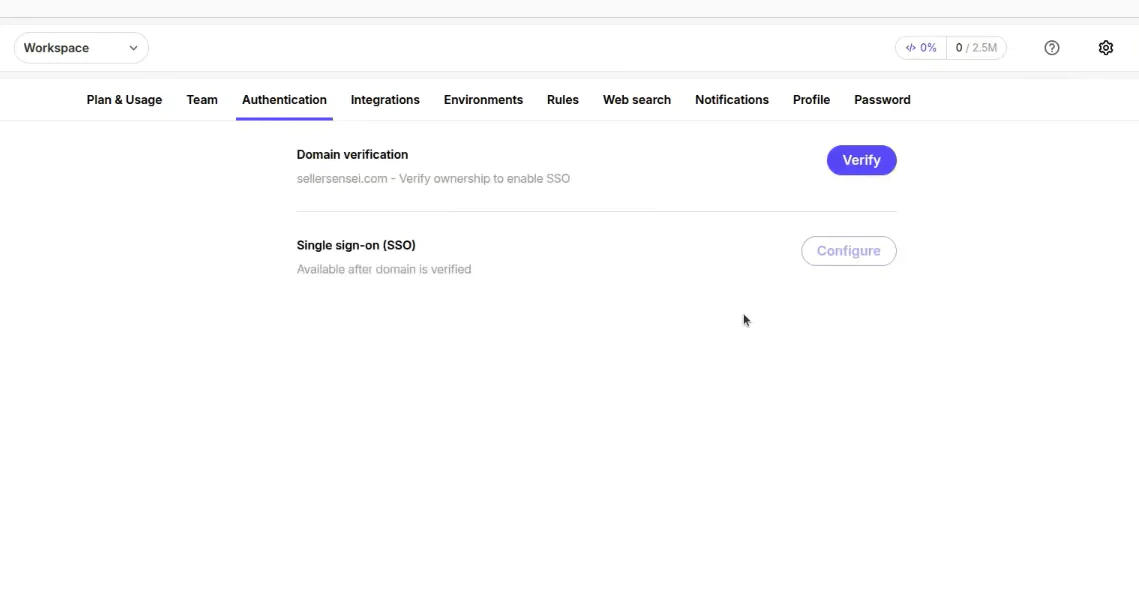
This step should be performed by a Super Admin.
3
Enter Your Domain and Add the DNS Record
Enter your organization’s domain. Blitzy generates a TXT record that your DNS Administrator must add to your domain’s DNS settings.Provide this TXT record to your DNS Administrator. They will add it in your DNS provider’s control panel (e.g., Cloudflare, Route 53, GoDaddy).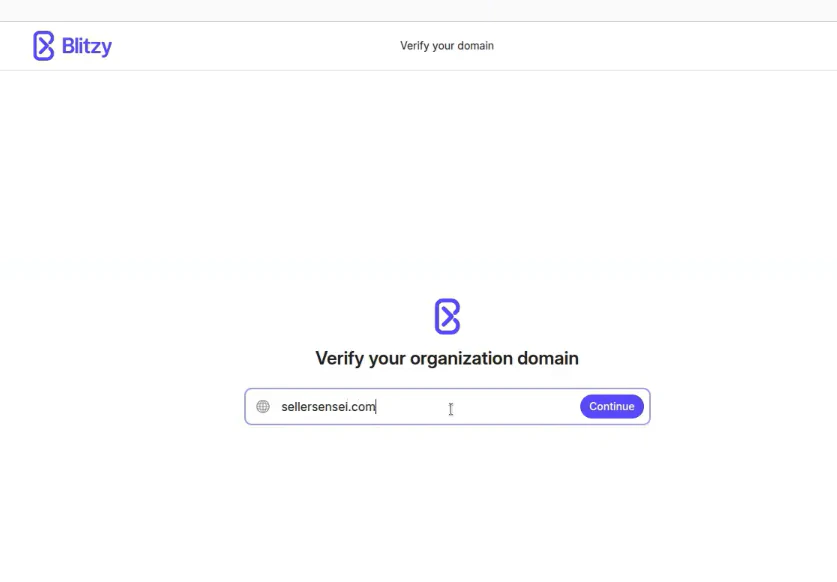
4
Wait for Verification
DNS propagation can take up to 48 hours. The verification process runs automatically in the background - no action is needed during this time.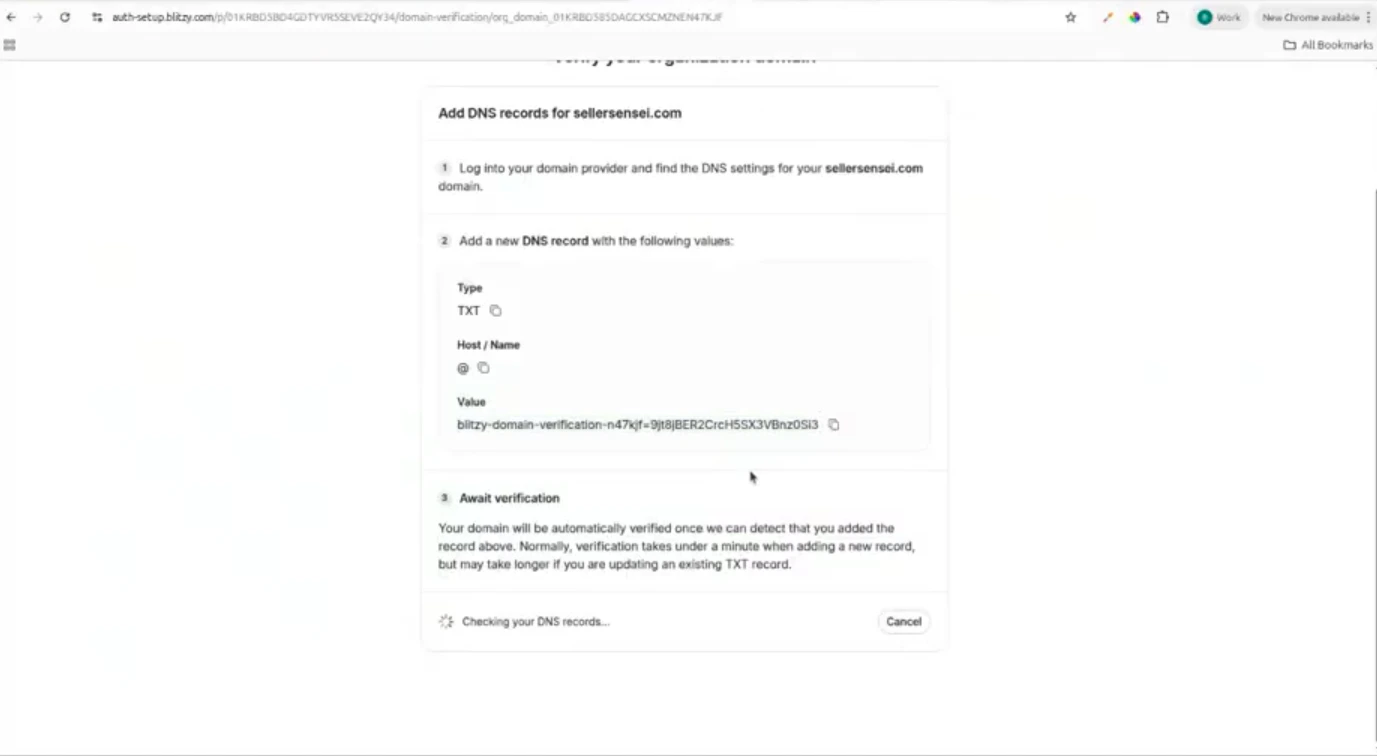
5
Confirm Verified Domain
Once validated, a success message appears. Return to the Blitzy platform to confirm the domain shows as verified.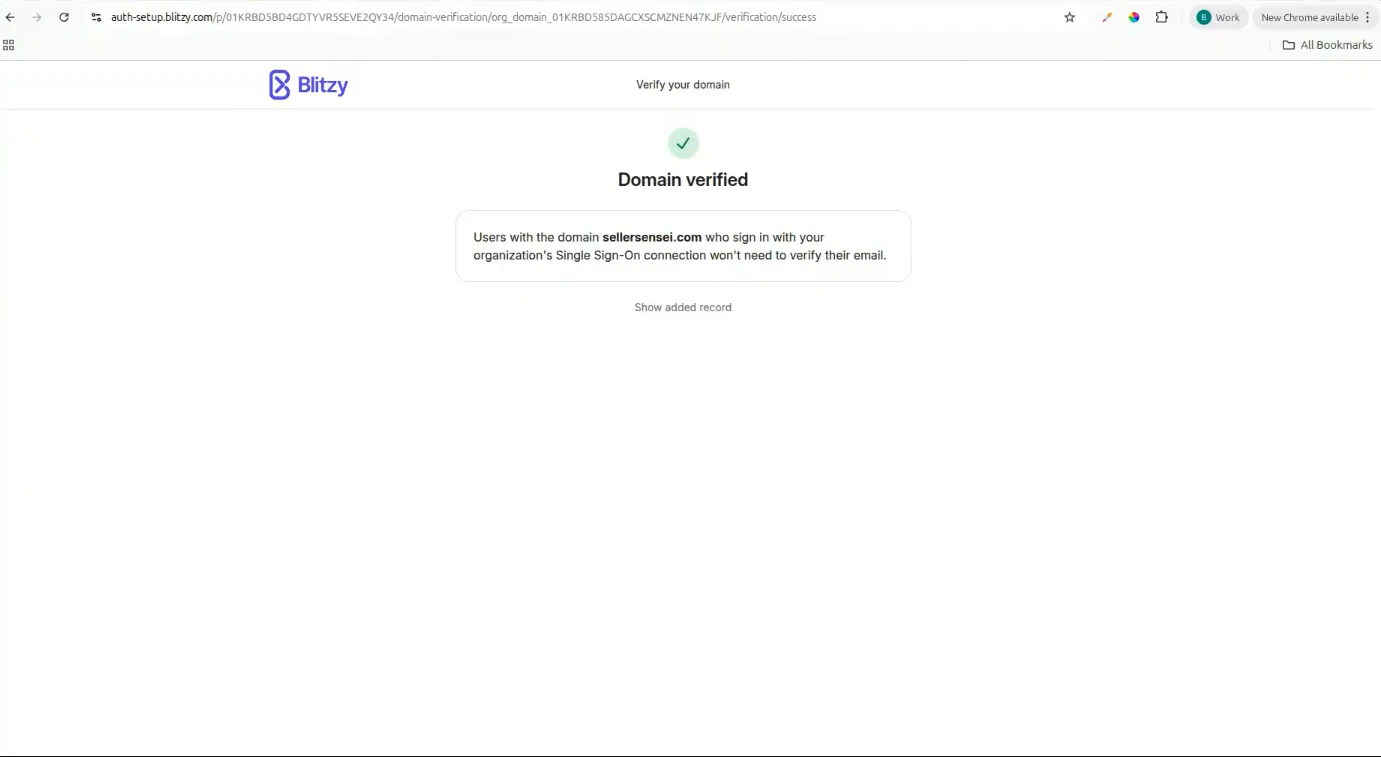
Step 2: Identity Provider (IdP) Configuration
Once your domain is verified, a Security or IT Administrator can connect your Identity Provider to enable SSO login for your organization.1
Open the SSO Configuration
From the Authentication settings page, click Configure in the Single Sign-On section.
2
Select Your Identity Provider
Choose your organization’s Identity Provider from the list. Supported providers include Okta, Microsoft Entra ID (Azure AD), Google Workspace, OneLogin, and others.After selecting your provider, Blitzy displays setup instructions tailored to that specific IdP.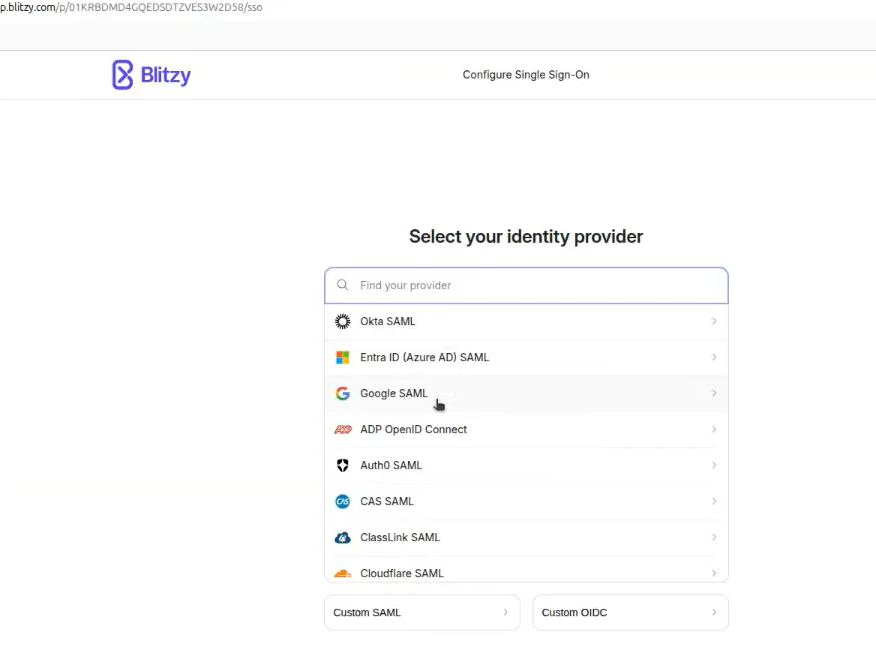
3
Complete the IdP Setup
Follow the step-by-step instructions shown on screen. These instructions are specific to your chosen provider and walk you and your IdP administrator through all required configuration steps.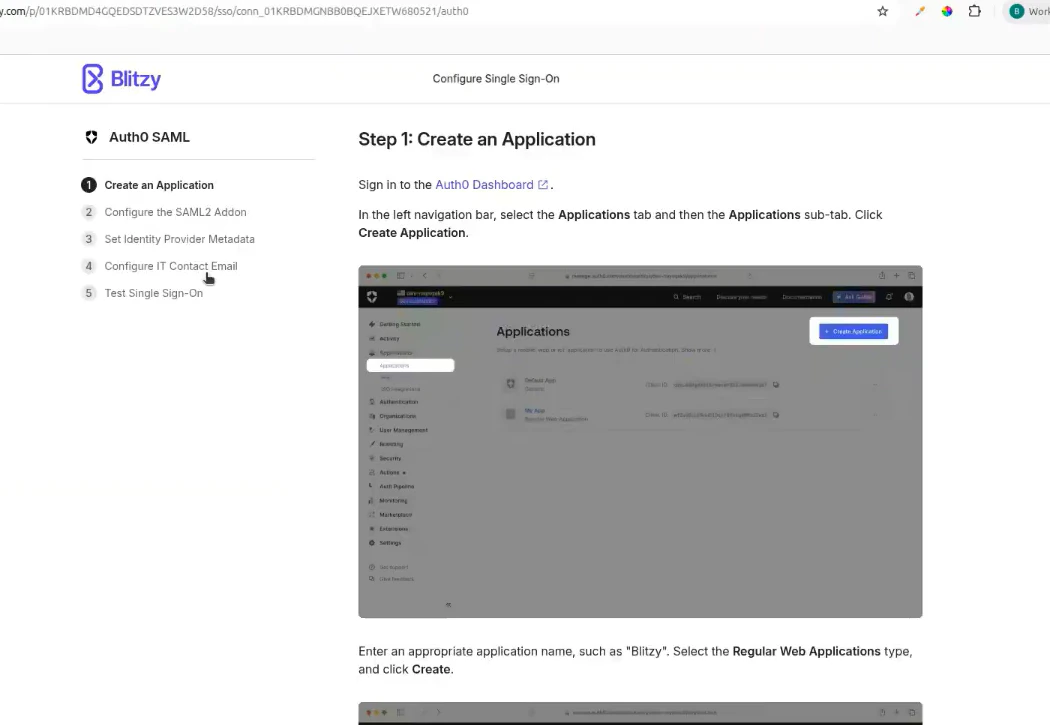
4
Test the Connection
After completing the configuration, use the Test Connection option to verify SSO is working correctly before rolling it out to your organization.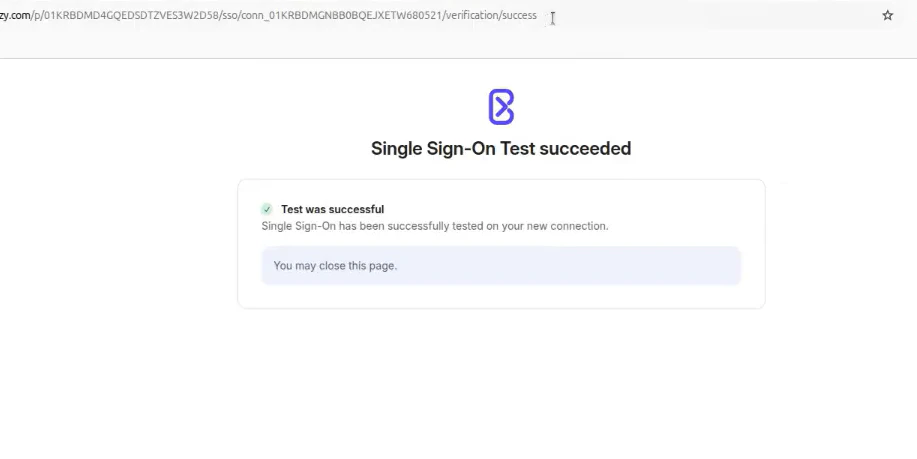
5
Confirm SSO Status
Return to the Authentication settings page. The updated status confirms SSO is active.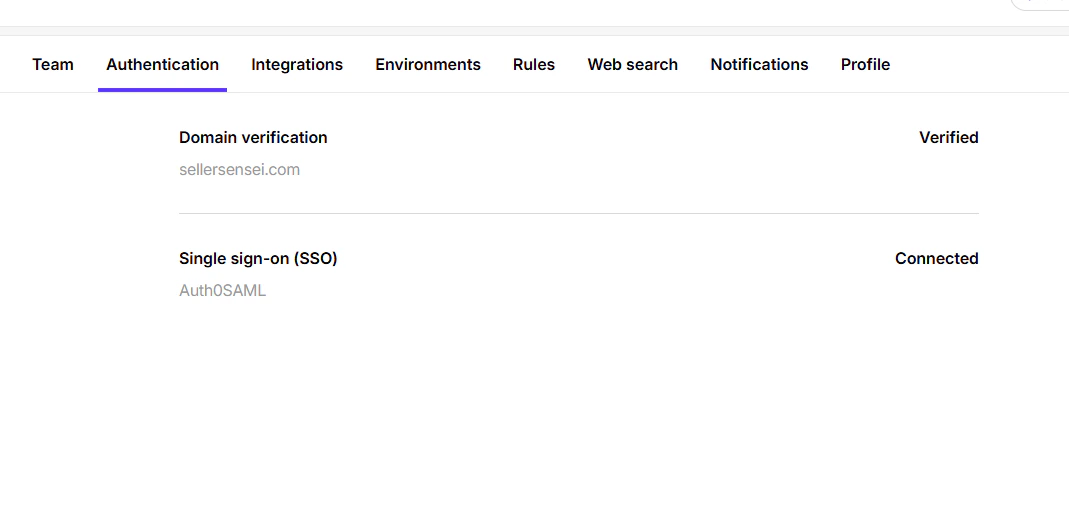
Troubleshooting
Domain verification is taking longer than expected
Domain verification is taking longer than expected
DNS propagation can take up to 48 hours depending on your DNS provider and TTL settings. If verification has not completed after 48 hours, confirm the TXT record was added correctly and contact [email protected].
Identity Provider not listed
Identity Provider not listed
Blitzy supports any SAML 2.0-compatible Identity Provider. If your provider is not listed, select Custom SAML and follow the instructions, or reach out to [email protected] for assistance.
SSO test is failing
SSO test is failing
Double-check that all values (ACS URL, Entity ID, etc.) were copied accurately between Blitzy and your IdP. Even a small typo causes the connection to fail. If the issue persists, contact your IdP administrator or reach out to Blitzy support.
Getting Help
Contact [email protected] or reach out to your Blitzy account representative.Teams & Roles
Manage teams and member access
Environment Configuration
Configure environments for AI-Native development